Introduction
MongoDB, a leading NoSQL database, finds a perfect home within MomentumX.Cloud’s Virtual Private Servers (VPS), offering developers an exceptional platform for crafting high-performance, scalable, and secure applications. In this in-depth technical guide, we will explore advanced strategies and provide meticulous, step-by-step instructions to optimize MongoDB deployments within the MomentumX.Cloud environment. By delving into MongoDB’s intricacies and harnessing MomentumX.Cloud’s infrastructure to its fullest, you can create a data ecosystem that’s not just robust but extraordinary.
1. Securely Connecting to Your MongoDB Instance
Step 1: Utilize SSH Key Authentication
Begin by uploading your public SSH key to your MomentumX.Cloud VPS for secure, passwordless access.
ssh-copy-id username@your_server_ipStep 2: Configure IP Whitelisting
Modify MongoDB configuration to allow connections only from specific IP addresses.
sudo nano /etc/mongod.conf
Add your server’s IP to the bindIp field:
net:
  bindIp: 127.0.0.1,<Your_Server_IP>
Step 3: Enable MongoDB Authentication
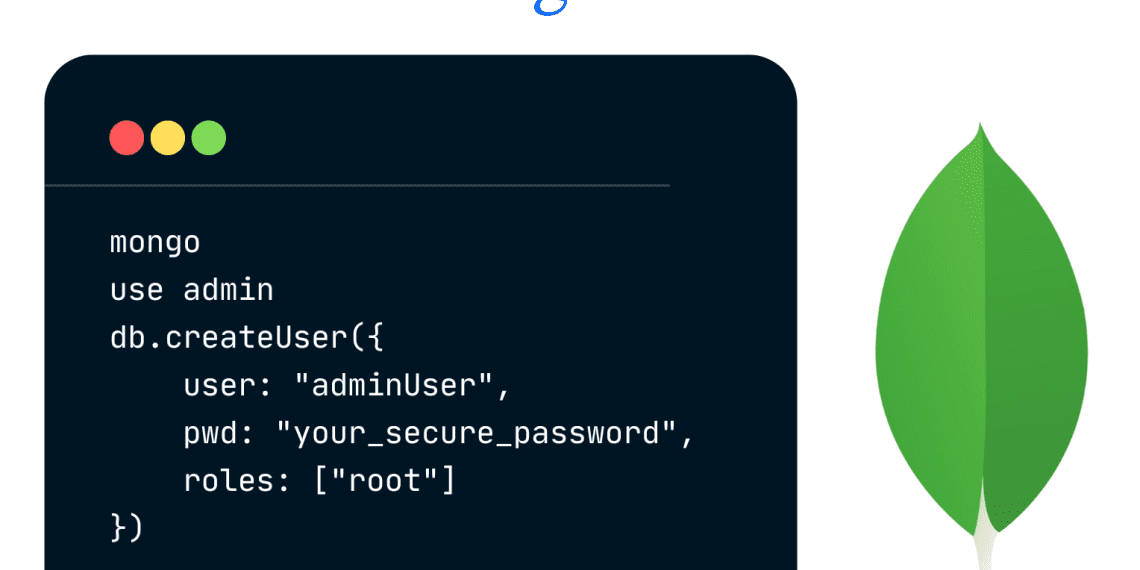
Create an administrative user and enable authentication in MongoDB.
mongo
use admin
db.createUser({
    user: "adminUser",
    pwd: "your_secure_password",
    roles: ["root"]
})
2. Enabling SSL/TLS Encryption
Step 1: Generate SSL Certificates
Generate SSL certificates for MongoDB to enable encryption.
openssl req -newkey rsa:2048 -new -x509 -days 365 -nodes -out mongodb-cert.crt -keyout mongodb-cert.keyStep 2: Configure MongoDB for SSL/TLS
Edit MongoDB configuration to enable SSL/TLS encryption.
sudo nano /etc/mongod.confAdd SSL configuration:
net:
  ssl:
    mode: requireSSL
    PEMKeyFile: /etc/ssl/mongodb-cert.key
    PEMCertificateFile: /etc/ssl/mongodb-cert.crt
3. Implementing Advanced Authentication and Authorization
Step 1: Create MongoDB Roles
Craft custom MongoDB roles tailored to your application’s needs.
mongo
use admin
db.createRole({
    role: "customRole",
    privileges: [
        { resource: { db: "yourDB", collection: "" }, actions: ["find", "insert", "update", "remove"] }
    ],
    roles: []
})
Step 2: Assign Roles to Users
Assign custom roles to MongoDB users.
use yourDB
db.createUser({
    user: "dbUser",
    pwd: "user_password",
    roles: ["customRole"]
})
4. Performance Optimization Through Query Optimization
Step 1: Create Indexes
Identify and create indexes to optimize query performance.
use yourDB
db.yourCollection.createIndex({ fieldToIndex: 1 })
Step 2: Utilize Aggregation Framework
Leverage the Aggregation Framework for complex transformations within the database.
db.yourCollection.aggregate([
    { $group: { _id: "$category", total: { $sum: 1 } } },
    { $sort: { total: -1 } }
])
5. Robust Backup Strategies
Step 1: Set Up Automated Backups
Automate backups using mongodump and schedule it with cron jobs. Store backups securely.
0 2 * * * /path/to/mongodump --out /backup/folder/$(date +\%Y\%m\%d\%H\%M\%S)Step 2: Implement PITR (Point-In-Time Recovery)
Enable MongoDB’s Oplog to perform Point-In-Time Recovery (PITR) for precise data restoration.
mongod --oplogSize 1006. Failover Strategies and High Availability
Step 1: Configure Replica Sets
Configure MongoDB replica sets for high availability and failover.
mongo
rs.initiate({
   _id : "yourReplicaSet",
   members: [
      { _id : 0, host : "mongo1:27017" },
      { _id : 1, host : "mongo2:27017" },
      { _id : 2, host : "mongo3:27017" }
   ]
})
Step 2: Implement Read Concern and Write Concern
Configure Read Concern and Write Concern settings for consistency and performance.
db.getMongo().setReadConcern("majority")
db.getMongo().setWriteConcern("majority")
7. Horizontal Scalability and Sharding
Step 1: Enable Sharding
Enable sharding for the desired database.
mongo
sh.enableSharding("yourDB")
Step 2: Choose Appropriate Shard Keys
Select a suitable shard key to ensure even data distribution across shards.
sh.shardCollection("yourDB.yourCollection", { shardKeyField: 1 })By following these detailed technical steps, combined with MongoDB’s capabilities and MomentumX.Cloud’s reliable infrastructure, you’ll create a MongoDB deployment that’s not just optimized but exceptional. Mastering MongoDB within MomentumX.Cloud’s VPS ensures unparalleled performance, reliability, and scalability for your applications.


